Desolation Wilderness is one of the most popular wilderness areas in the nation. With alpine lakes accessible within several miles of hiking, it’s no wonder that folks flock to this destination from all over the country. If you’re looking for a weekend backpacking trip with the most bang for your buck, look no further than Desolation Wilderness. This 2 day, 1 night loop hits some of the most beautiful spots in the Tahoe wilderness. Here’s everything you need to know about backpacking Fontanillis Lake.
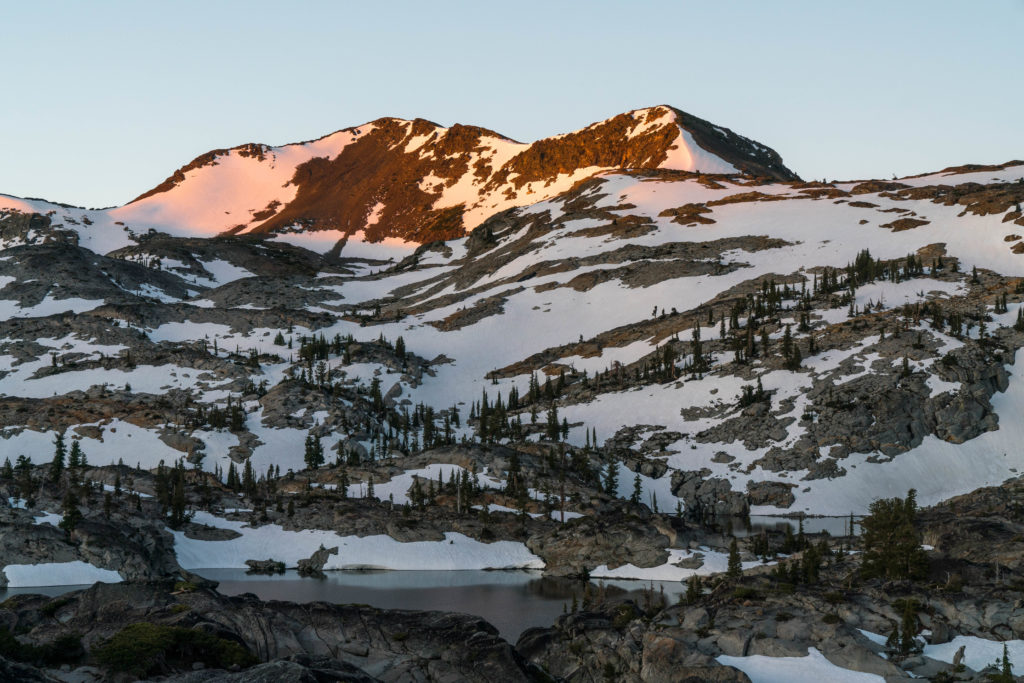
Itinerary for Backpacking Fontanillis Lake
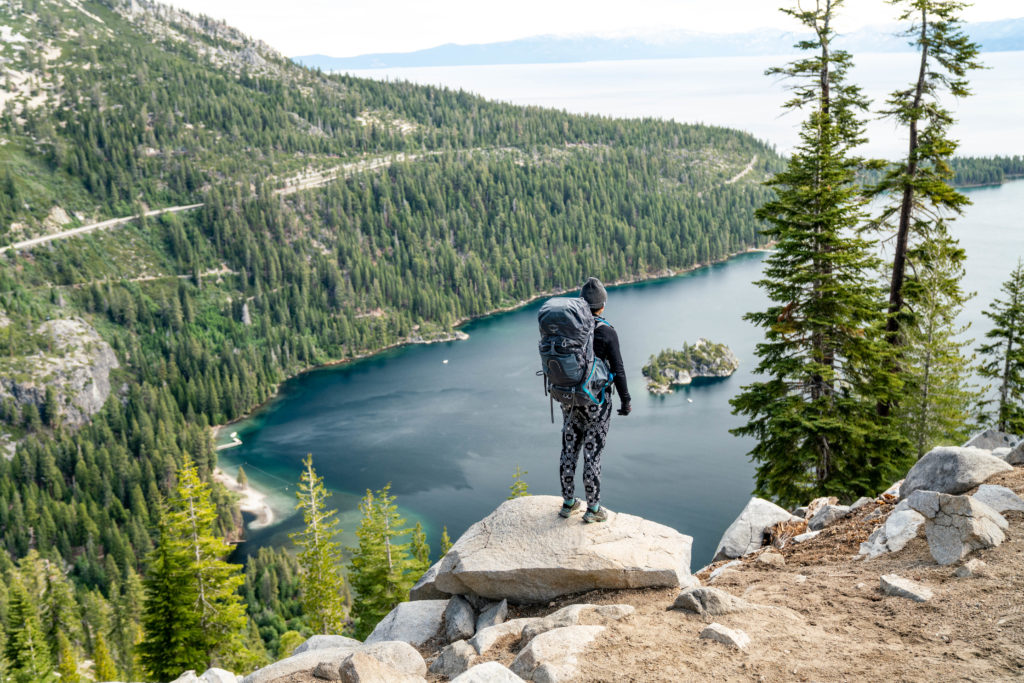
Backpacking Fontanillis Lake is more accurately described as a lollipop than a loop. The hike begins and ends with 3.3 miles on the Bayview trail with picturesque views of Granite Lake and Emerald Bay. The best way to backpack to Fontanillis Lake is clockwise. You get most of the elevation gain out of the way when your legs are fresh.
Day One – Bayview Trailhead to Fontanillis Lake via Dick’s Lake
The hike begins (and ends) with 3.3 miles on the Bayview trail with picturesque views of Granite Lake and Emerald Bay. The first 1.7 miles is uphill on grueling switchbacks for a total gain of 1445’. This is where you’ll see the most people. Lots of day hikers head to Granite Lake or Maggie’s Peak.
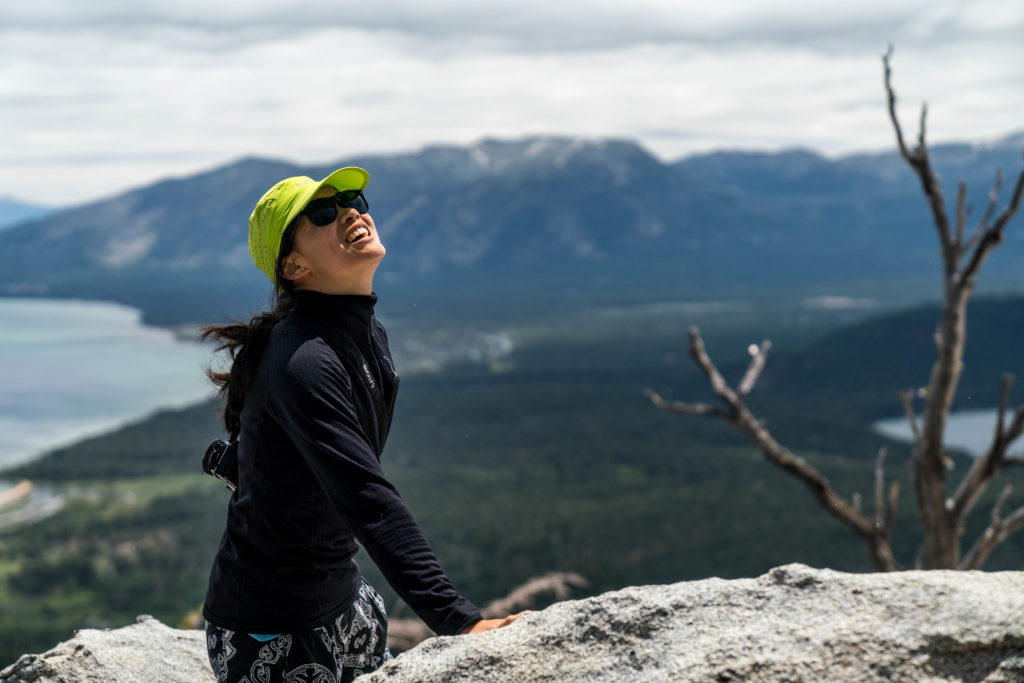
If you have time, take the detour for Maggie’s Peak. It only adds an extra half mile out and back (if you manage to find the proper trail), and you get great views of Cascade Lake and Falls. Plus you can tick a Tahoe peak off your list.. This is also a nice spot with reliable cell service to catch up on any last minute text messages, phone calls, or emails.
At 2.7 miles, you’ll reach the junction that takes you to Eagle Lake and Falls. Ignore this junction. It is very well signed. Keep following the trail down for another 0.7 miles until you reach the junction for Dick’s and Fontanillis Lake and the Velma Lakes. Stay to the left (clockwise) for the best way to experience backpacking Fontanillis Lake.
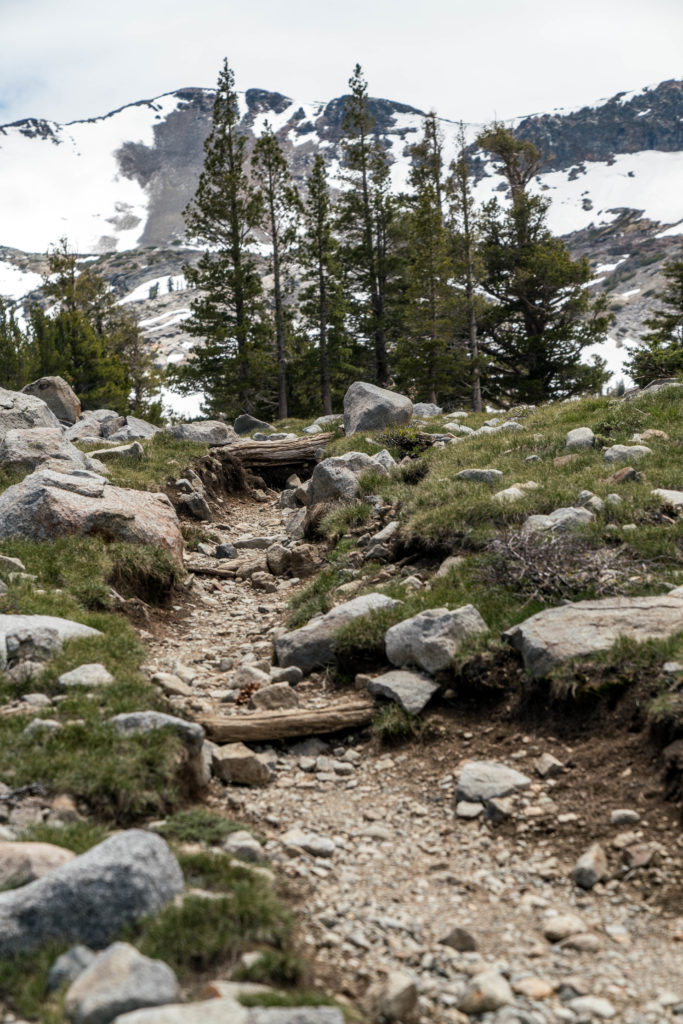
You’ll stay on this trail, slowly ascending up to Dick’s Lake, until you hit the PCT. Once you reach the PCT junction, head north on the PCT. After .2 miles from the PCT trail sign, you’ll begin to see trails heading south to Dick’s Lake. It’s close by and worth checking out.
When you’re ready, hot back on the PCT. The PCT follows Fontanillis Lake’s east shore. There aren’t many good campsites until you reach the northern part of the lake, before the trail crosses the drainage for the lake. You’ll find some flat area for pitching a tent or two, or some awesome cowboy camping sites, and maybe some cell service if you have line of sight to the lake.
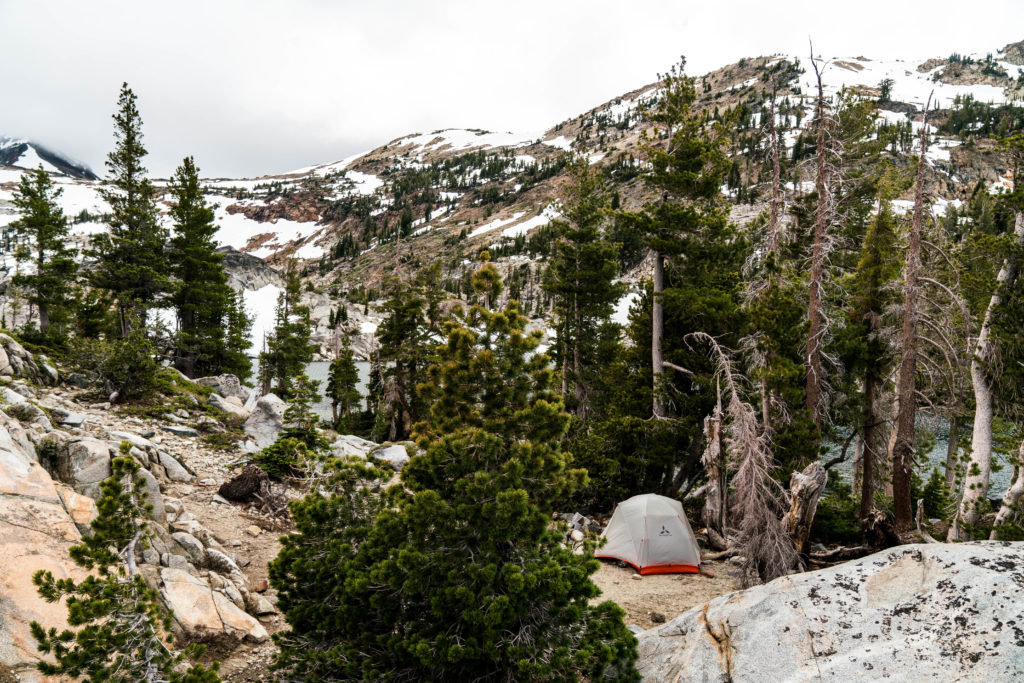
This spot is incredibly picturesque with views of the Velma Lakes and Fontanillis Lake. Plus once you continue the loop, you’ll be heading downhill for the first mile.
Day Two – Fontanillis Lake to Bayview Trailhead via Velma Lakes
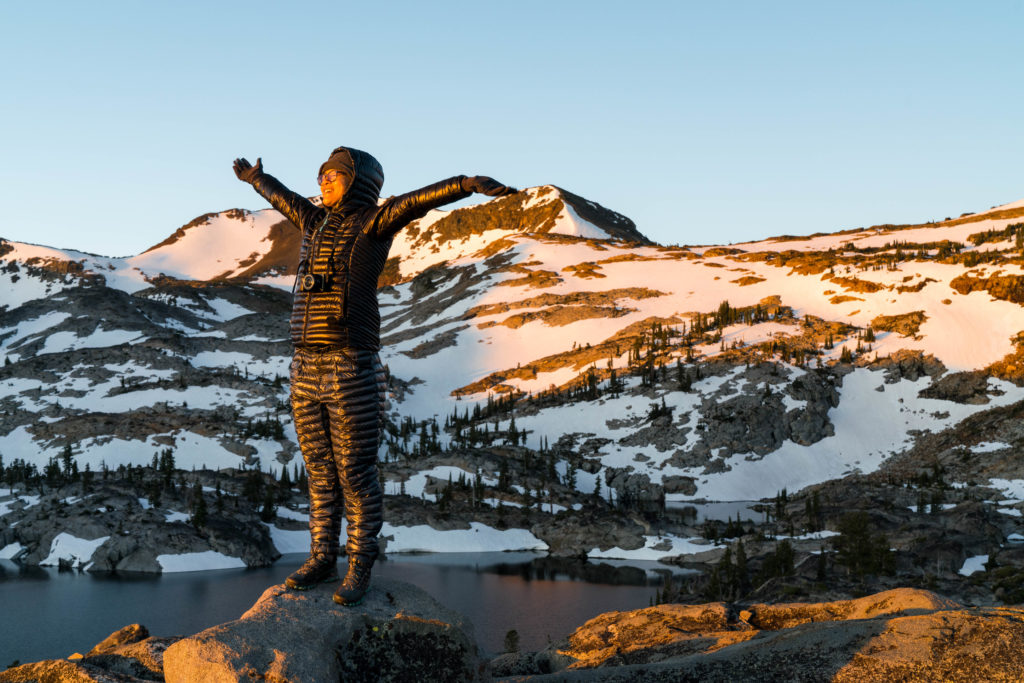
Don’t forget to catch sunrise at Fontanillis Lake. The alpenglow on the peaks south of Fontanillis is stunning. Golden hour on the Velmas is unforgettable.
Fontanillis isn’t a great place for nature’s 2nd call, if you’re the type of person who needs to poop in the morning like me. It’s quite rocky. If you can wait for a half mile of hiking, heading further north on the PCT yields soft ground for digging excellent cat holes. If you can hold it until you’re back at the car, there are pit toilets at Inspiration Point and Bayview Campground.
From your campsite, it’s about a mile to where the PCT meets the trail to return back to the trailhead. It’s also very well signed. Stay to the left, or towards Upper Velma Lake. Depending on the snow levels, you may need to cross a creek to keep going on this trail. After you leave the PCT, the next junction you’ll reach is where your loop finishes and you retrace your steps on the Bayview trail back to the trailhead.
Getting to the Trailhead
Backpacking Fontanillis Lake begins at the Bayview Trailhead. Located directly across from Inspiration Point, it’s one of the busiest trailheads in Tahoe, second to Eagle Falls/Lake just up the road. If you want to score a parking spot, get here early in the high season. While there is some trailhead parking past the campground (which is currently not open because coronavirus), most of the parking is on the side of the highway. It fills up by 9am. Alternately, you could begin your hike in the afternoon or early evening, after most of the day hikers have finished for the day. Whatever you do, don’t be one of those people hovering awkwardly on the side of the highway. It’s fun for no one.
Getting Permits for Backpacking Fontanillis Lake
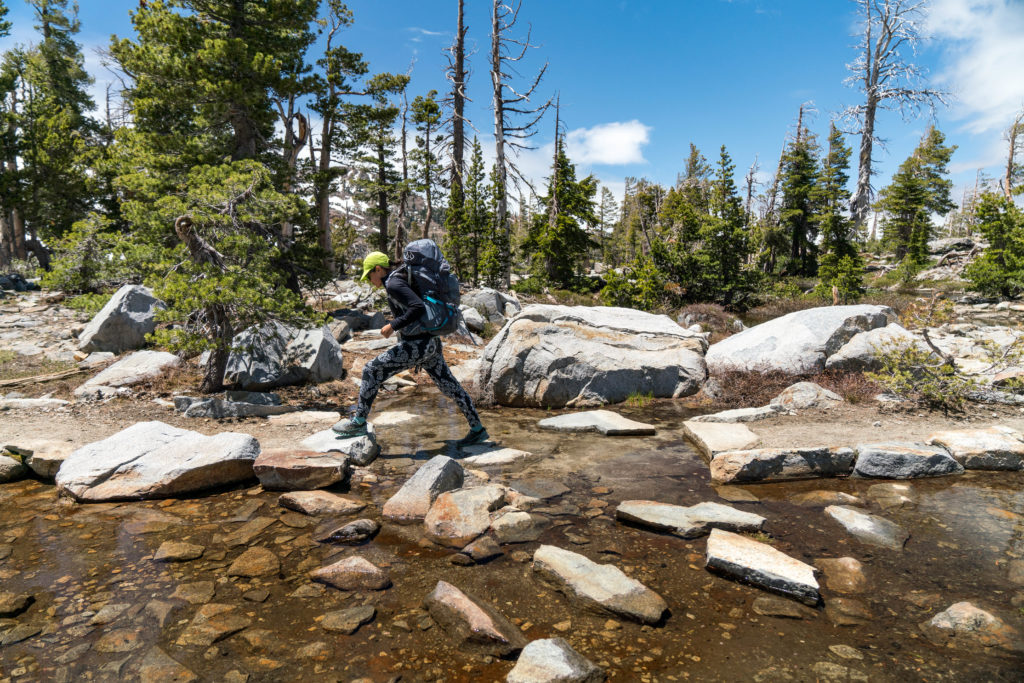
Permits are required for overnight and day use year round. The maximum group size is 12. There is a quota (limited number of permits) in effect beginning May 1 through September 30th for overnight permits based on Destination Zones for your first night. All overnight permits are reservable on Recreation.gov.
To camp at Fontanillis Lake, select zone 23 Dick’s Lake (total capacity of 16 during quota season). This zone covers Fontanillis Lake.
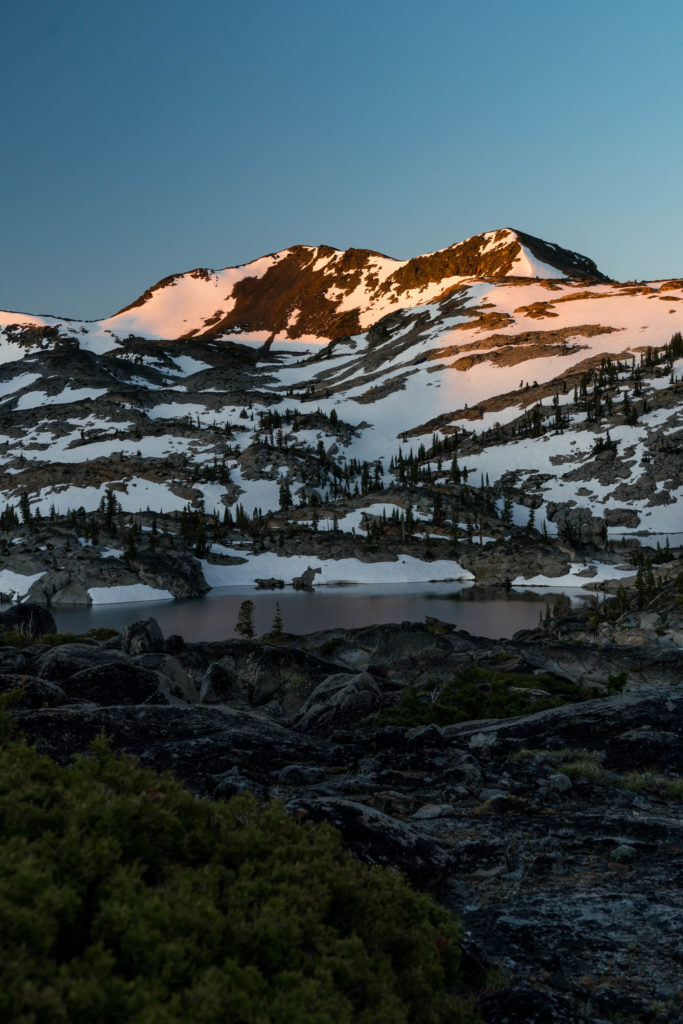
For Desolation Wilderness, there is a $5/person fee for the first night. For more than one night, the fee is $10/person. The reservation fee is $6. The maximum cost for your permit is $100.
There is no quota for day hikers, but you must fill out a permit at the trailhead and affix the permit to your pack. Most permits are free, though some trailheads may charge a day use fee. Bayview Trailhead does not charge a day use fee.
Last updated on July 14, 2020.

